
Once the CPE box is installed in your home:
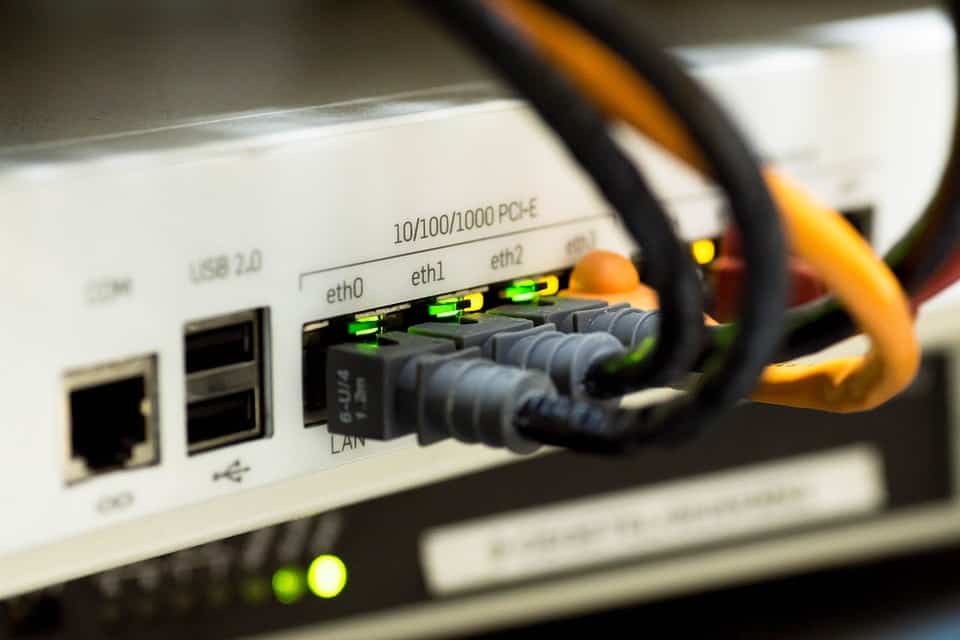
Connect the ethernet cable from LAN Port 1 on the CPE/ONT device (the device that has been mounted on the wall) into the WAN/Internet port on your Haloweb fibre router. Ensure CPE is powered up and lights are showing on the device.
Then connect a LAN/ Ethernet cable from a WAN port on your fibre router to your computer OR connect wirelessly to the router’s network (the 2.5 GHz or 5 GHz one) and the password will be written on a sticker underneath it.
The ethernet ‘LINK’ light must show on the CPE and the WAN port of your router. If the link light is present, it means that your fibre router is powered up correctly.
You will then be able to connect to the internet at 10Mbps for 2 hours in order to activate your fibre account.
Once activated, do the following to set up your router for a PPPoE connection:
This is only for Openserve
All other fibre providers connect via a DHCP connection.
Open your preferred internet browser. Enter 192.168.0.1 into the address bar and press enter.
You will be taken to the router login screen.
Username: ‘admin’.
Password: Leave the password field empty or enter a password if one has been created.
Click ‘Login’.
Now click ‘Start’ to start the ‘Internet Connection Setup Wizard’.
Select your language and click ‘Continue’.
From the drop-down menu select ‘Wired Connection’ for the connection type and click ‘Next’.
From the drop-down menu select ‘Router’ for the work mode and click ‘Next’.
From the drop-down menu select ‘PPPoE’ as the WAN connection type and click ‘Next’.
Enter the username (provided by us) and the password and click ‘Next’.
Configure the 2.4Ghz network name and password and click ‘Next’.
Configure the 5Ghz network name and password and click ‘Next’.
Do not enable IPTV, click ‘Next’.
Do not enable VOIP, click ‘Next’.
Set up the new password for the router if it is the first time logging in and click ‘Next’.
Please note the summary of your settings or to download the configuration backup file.
Click ‘Apply’ to save these settings.
Reset the router. You can reset the router to its default factory settings by pressing and holding the ‘Reset’ button for 10 seconds, found underneath or at the back of the router. All customised settings will be erased and you will need to reconfigure the device.
If you wish to change your wireless network settings please follow the steps below:
On the router’s main page click ‘Wireless Settings’.
Select ‘Wireless Connection Setup’.
Under the Network Name (SSID) change the name(s) to whatever you want it to be.
Make sure you choose ‘Manually Assign a Network Key’ and click ‘Next’.
Choose a password for your network under ‘Wireless Security Password’ and click ‘Next’.
You will be taken to a summary page, click ‘Save’ to confirm your changes.
The settings will take a short while to save and then you will be connected.
What is the difference between DHCP & PPPoE? DHCP connects by obtaining an IP address and then connects automatically. PPPoE connects via an ISP and requires a username and password.